
Edit an Image in Photoshop to Add Some Pizazz!
Follow this series of simple techniques in Adobe Photoshop to add some dynamism to your photography. This series of edits are steps I often take when manipulating photos straight from the camera in order to touch up, compose and stylise the photo, resulting in a more impactful overall image.
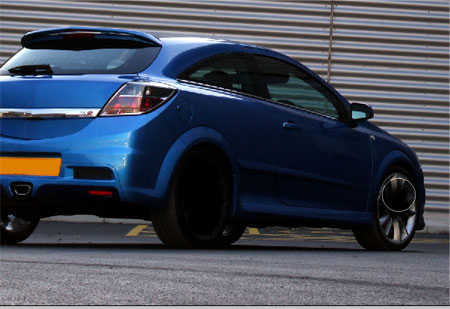
I'm no pro photographer, but I do enjoy the basics of photography as a kind of part-time hobby. This shot I'll be working on is from a recent trip out with a few friends to take some shots of his new car. I figured it would be a good opportunity for a tutorial, to present some of the steps I take when working with images to both tidy up the shot, and to add some additional styling and effects.

For anyone interested in the specs of the shot, I used the simplest of tools, a camera set to f/3.7, 1/100sec, ISO-200 along with a mini-tripod and circular polarizing filter, which I highly recommend as an accessory for anyone interested in photographing cars to help minimise reflections, as illustrated above. Looking back, the shot could do with another light source to brighten up the right of the car, maybe next time!
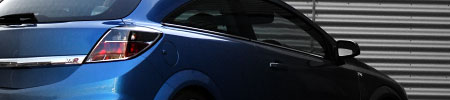
The raw shot straight from the camera looks pretty much Ok, I setup the composition so that the car is situated in the bottom corner, roughly based on the rule of thirds. The image has quite decent contrast levels but does lack some pazazz!
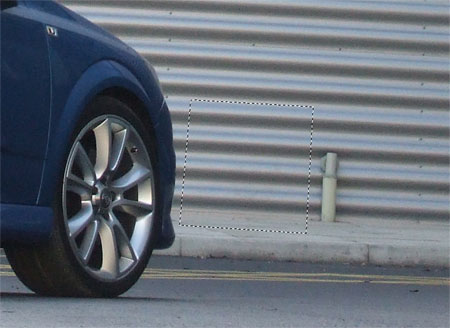
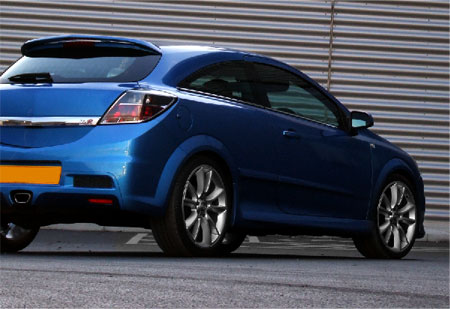
The first stage is to touch up any unsightly elements of the shot, there's a large area of background that could easily be repeated. Grab the Selection Tool and draw a selection around a plain area, copy and paste this block then position it over the unwanted area.
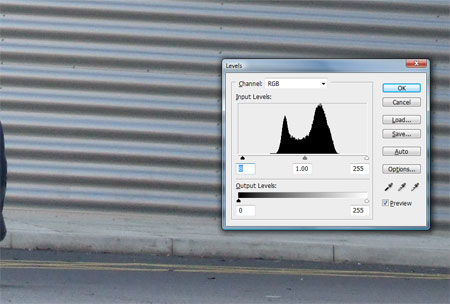
Due to small differences in tone, the outline of the square selection may still be visible, this can often be reduced using the Levels (CTRL + L) to match the colouring of the surrounding area.
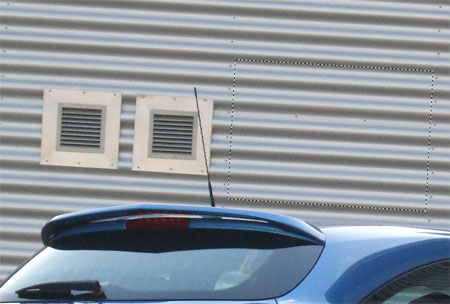
The two ventilation ducts above the car will also need removing, select a plain area of the steel wall to use to mask out the ducts.
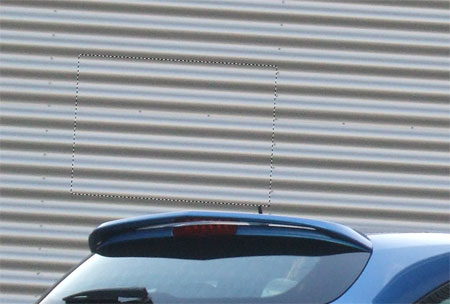
Position this section over the ducts and nudge into position to allow the lines to seamlessly match up.
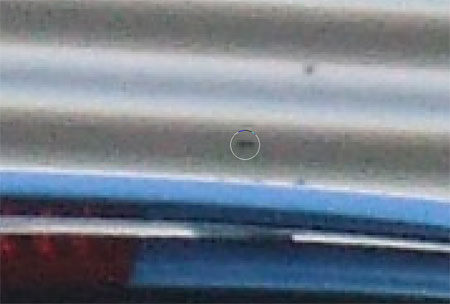
The tip of the car aerial was also masked off slightly, this can be removed altogether using the Clone Stamp Tool to disguise the last remaining section of the shaft.
Copy a large selection of the steel wall to cover the area of glass windows right near the edge of the shot, this will provide a completely seamless background without any distractions.
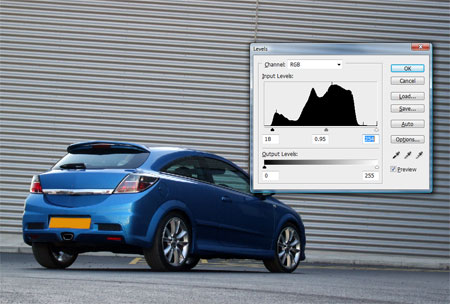
With the initial touch up work complete, check the histogram of the shot by opening the Levels window (CTRL + L). There's room to crop off some of the darker tones to give a deeper black to the shady areas of the image.
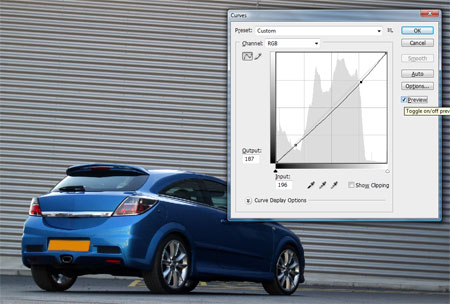
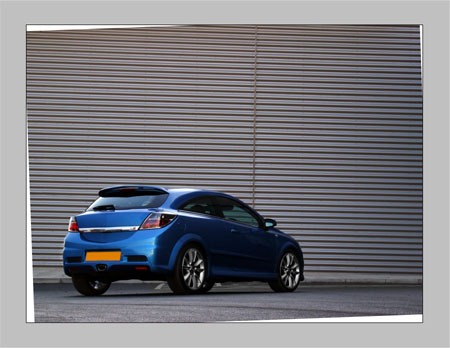
Open up the Curves window (CTRL+ M) to also make any fine adjustments to the tone of the image, darkening the darks and lightening the lights to add more contrast to the image.

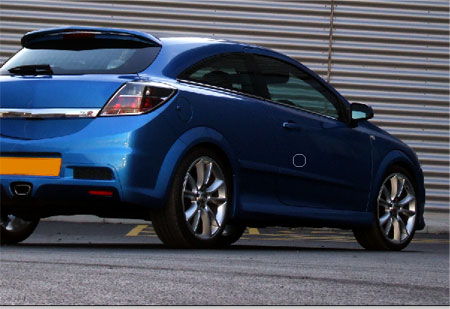
Adjust the Color Balance with CTRL + B to fine tune and remove any unwanted colour casts on the image, this original was very slightly blue, adjusting the sliders towards yellow helps correct this.

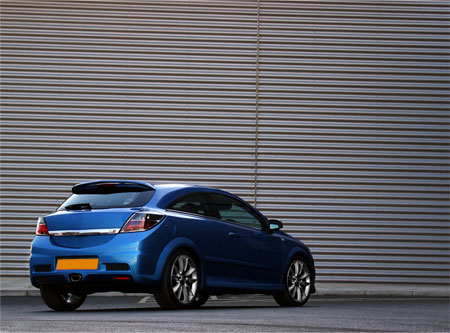
Duplicate the layer, then change the copied image's layer style to Soft Light. Reduce the opacity of the layer right down to around 25% to find a suitable level of tone. This technique really helps add a processed, dark and dirty look to the image, particularly to the asphalt and steel.
To darken down the tones of the background even more, fill a new layer completely with black. Change the layer style to Soft Light and reduce the opacity to around 30%.
Add a Layer Mask to the current layer and paint over the car bodywork using a black paintbrush. This will mask out the areas of the completely black layer, allowing the brighter and richer blue of the underlying layer to shine through. Overall this helps the car, being the focus of the shot, stand out against the darker background.
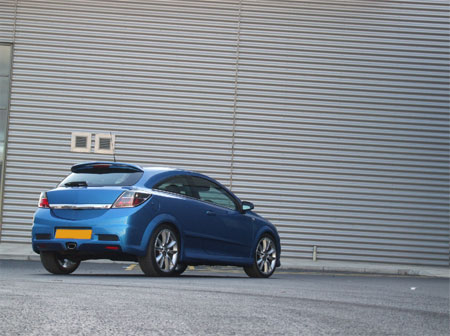
Due to the Soft Light layer, the colours of reflections on the wheels are being enhanced, fix this by painting black over the wheel areas on a new layer. Change this layer style to Color.
Broaden the tonal range of the wheels and rear lights with the Burn Tool, set to 10% Exposure on Shadows. Softly paint over these areas to give them a much richer appearance.

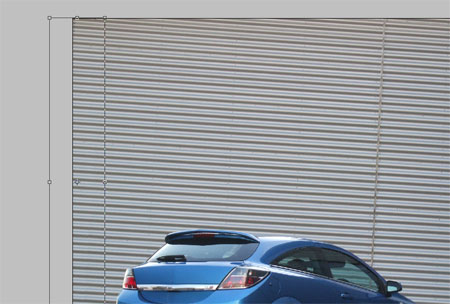
The shot has lines running across both axis of the image in the form of the pavement and joining line between steel panels. To compose the shot draw in a horizontal and vertical guide to which these lines can be matched to.
Select All (CTRL + A) and Copy Merged (CTRL + SHIFT + C) to copy the complete image so far onto a new layer. Rotate the image until the lines in the photograph match with the guides.
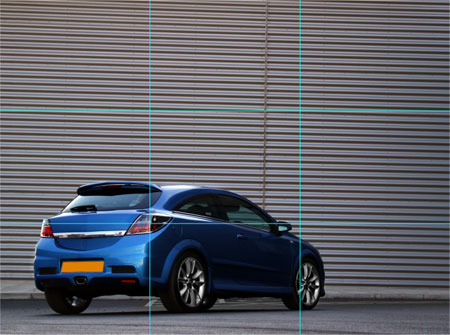
Fine tune the composition based on the Rule of Thirds by adding lines to a selection at 33.3% of the width and height of the image. Move and Crop the photo to draw the attention of the eye into the image, in this case focussing on the rear light of the vehicle.
No comments:
Post a Comment